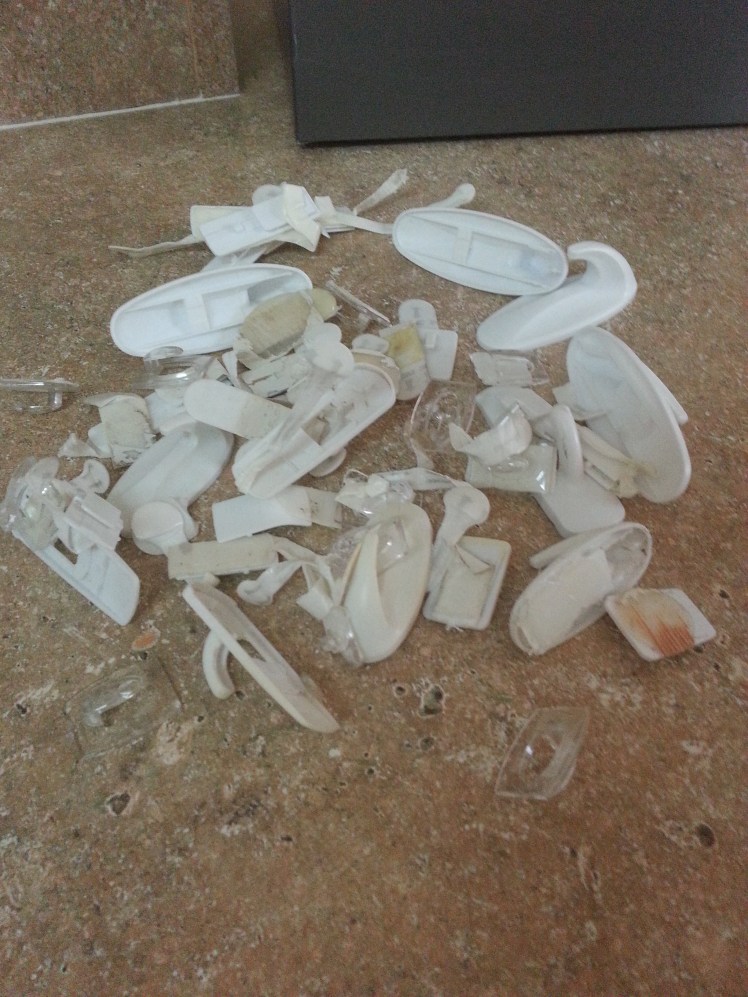
As soon as I bought my house I had already created a list of projects to make it just the way I wanted. The first thing that absolutely needed to be done, was the kitchen. The previous owner had MDF cabinet doors with the decorative finish peeled off, a fluorescent box light decorated with beads and crystals, layers and layers of wallpaper, and hundreds (ok… dozens) of command hooks hidden everywhere including behind the upper cabinet molding.
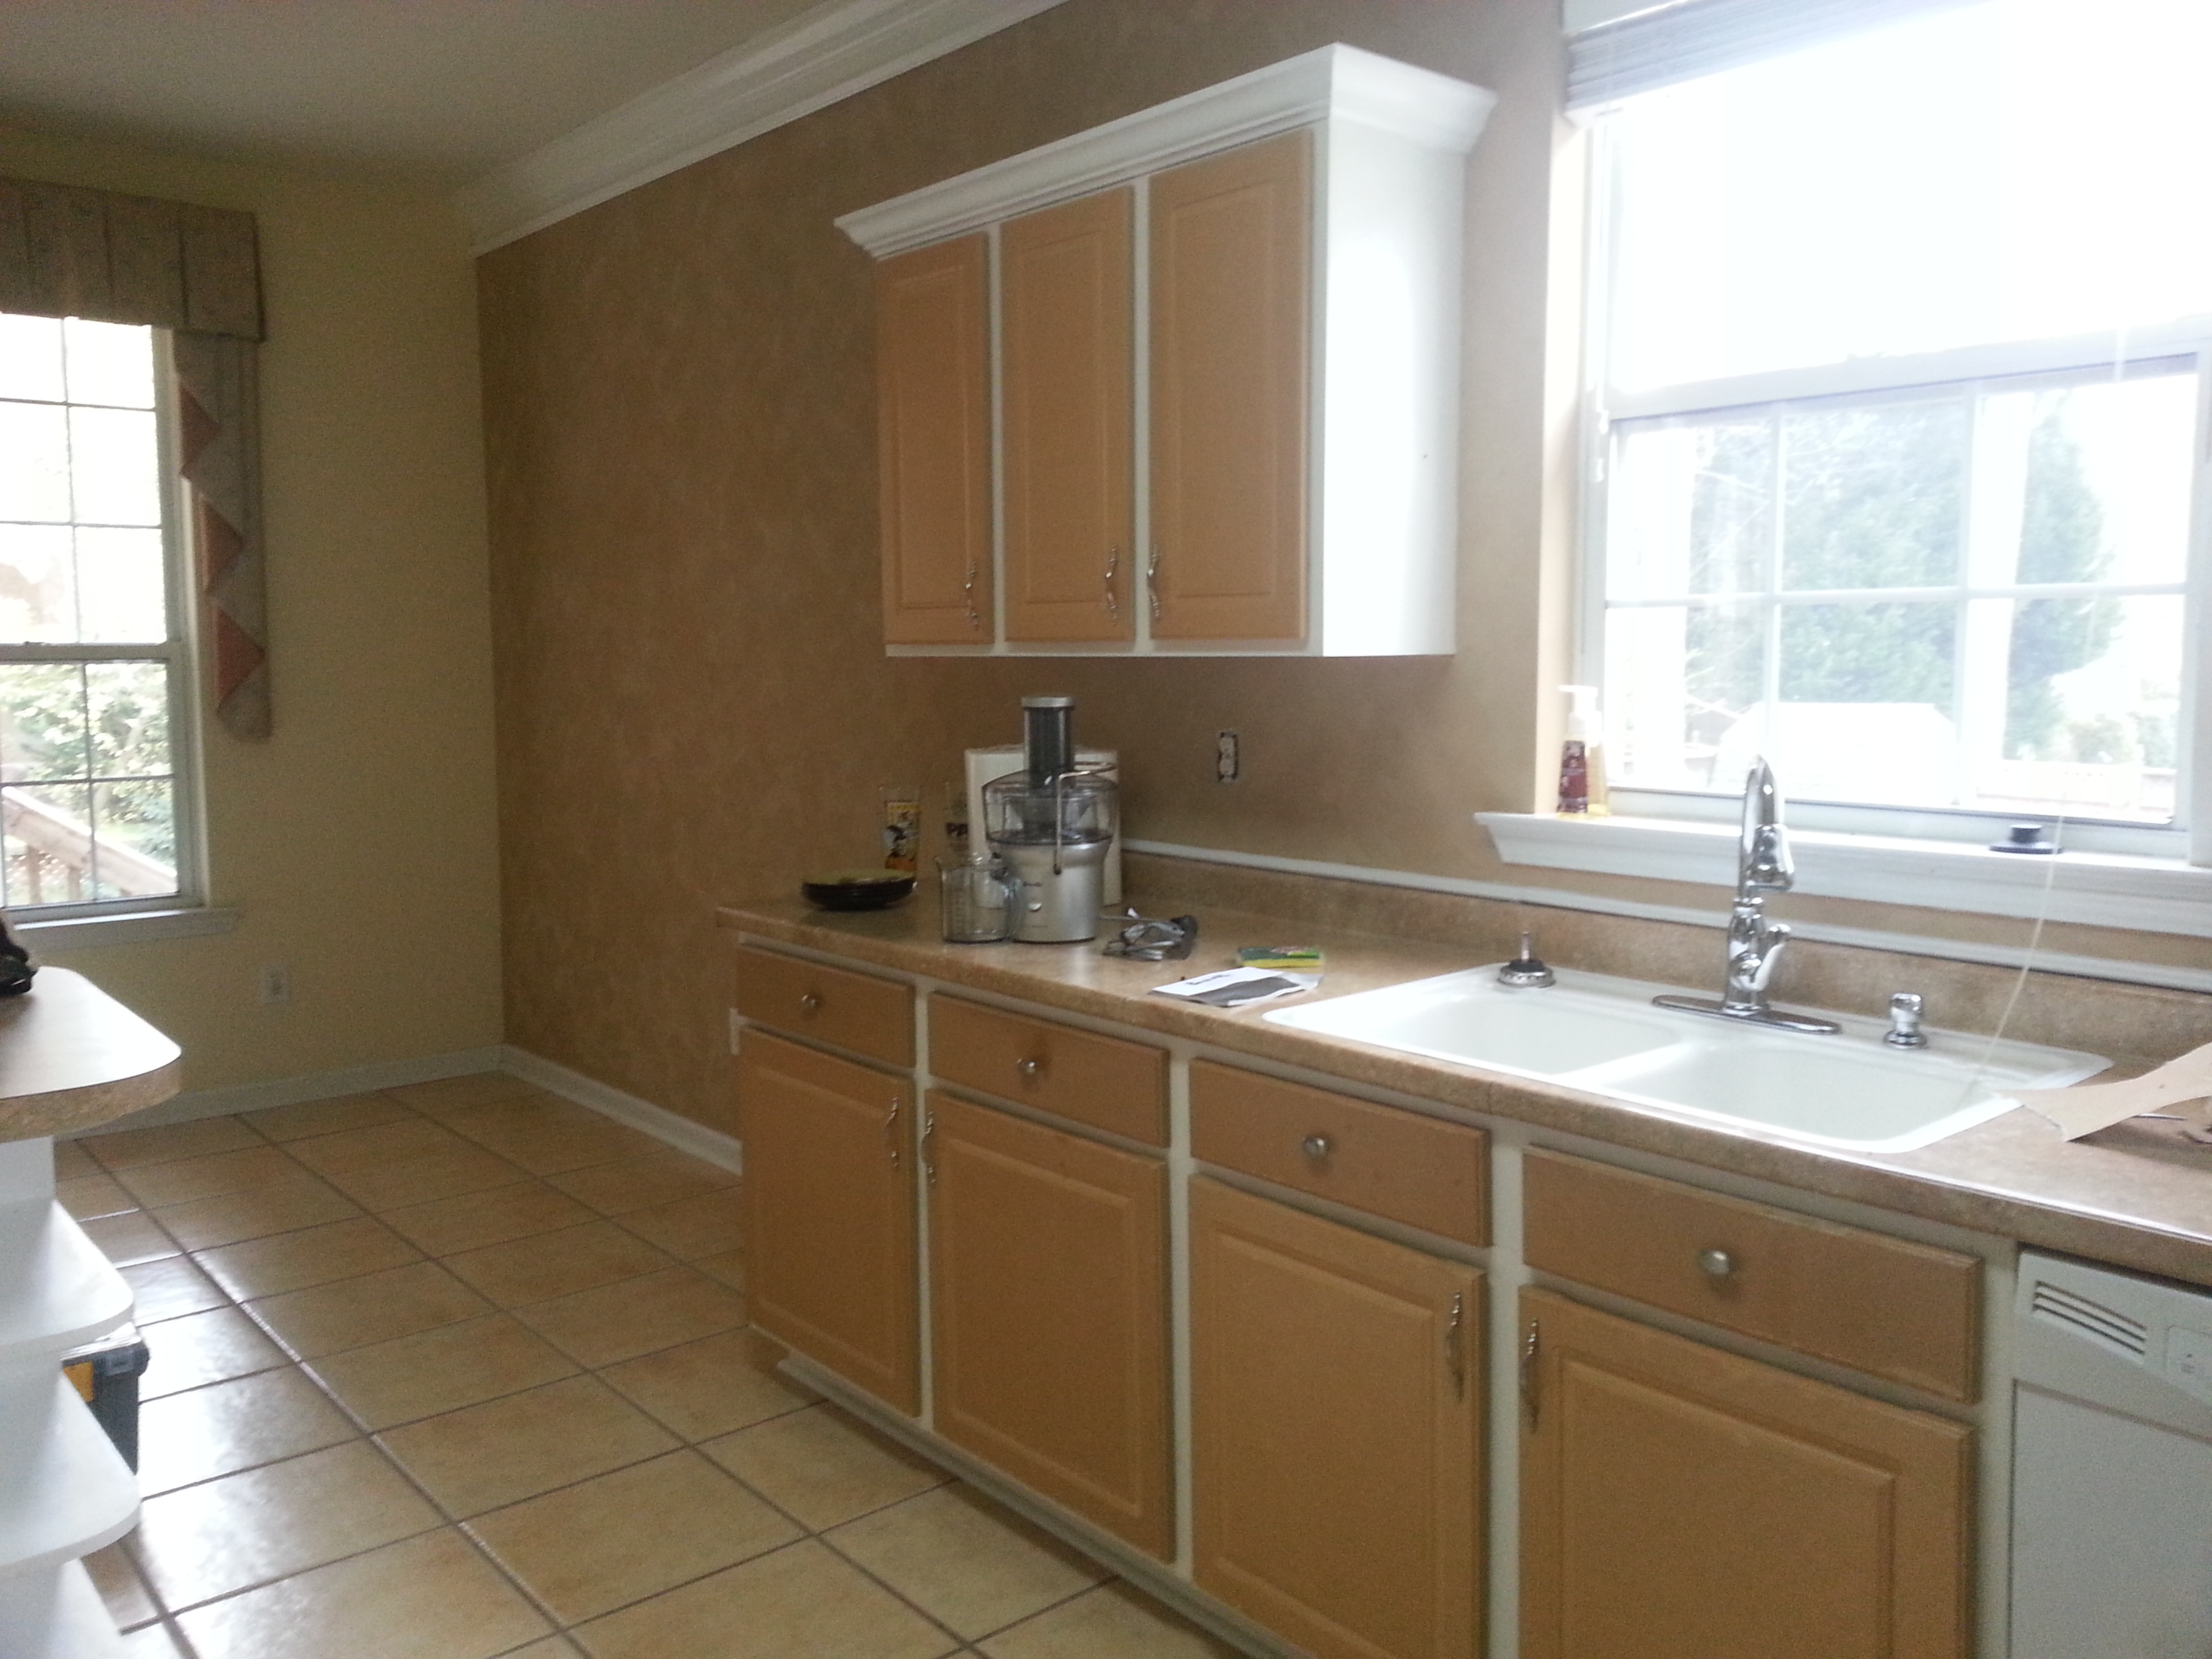

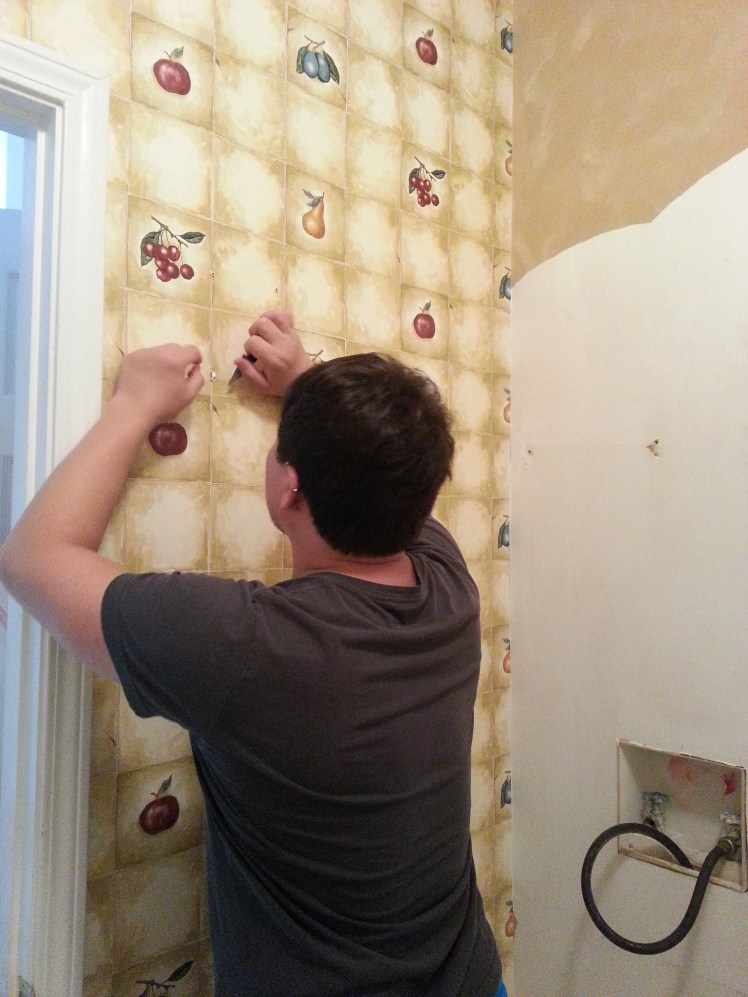
I decided to tackle all the wallpaper and command hooks first. A few of the walls peeled off effortlessly, but some were stubborn and took an army of family members to finish. We found the crown molding was fixed on top of bubbling wallpaper and in order to paint, we had to remove it. Eventually we painted a nice bright blue, and put in a track light to replace the “chandelier”. I also needed to move an outlet into the cabinet above the oven in order to install the microwave. The three fixes could not hide the cabinet doors. They needed a temporary fix until we can get all new cabinets and countertops.
I started by measuring all the cabinet doors and drawer fronts since I wasn’t going to be replacing the cabinets and wanted to use the existing hardware. I knew I wanted shaker style doors and that they would be relatively simple to make. Since they were going to be temporary, I wanted to be a bit more bold with some of the upper doors and decided to used decorative perforated metal sheets. So the building began.
Alex and I took over my Grandfather’s basement shop for a couple days to cut and assemble. Luckily he has pretty much any tool I’ll ever need since my garage shop is still lacking some of the necessary items. We used a simple tongue and groove joint for the doors. Because the metal was so thin, I added a small frame on the inside to keep it firmly in place. After the frames were firmly glued, we took them home to sand and paint.

I found out a bit later that my grandfather has a paint sprayer, and I wish I had known that then. I ended up rolling and hand painting them all. The hardware I found at Target, and I used the original hinges. Everything fit perfectly in place, and I’m quite happy living with this until we can get all new cabinets and countertops. For some reason, Sir Thomas doesn’t try to open this style of doors, so we haven’t found him hiding inside since the update.

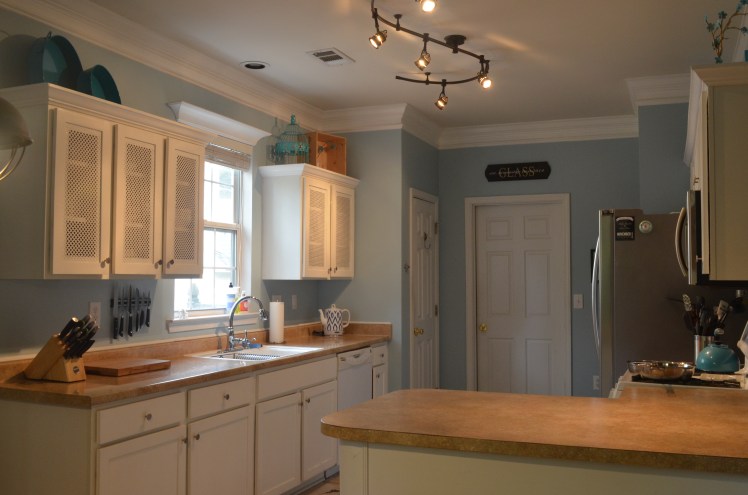
Here’s the finished kitchen. Thanks for visiting.